Appearance
Navigation Menu #
Show properties may be saved, edited and loaded through the toolbar's navigation menu. It is sliced into four subsections:
File Menu #
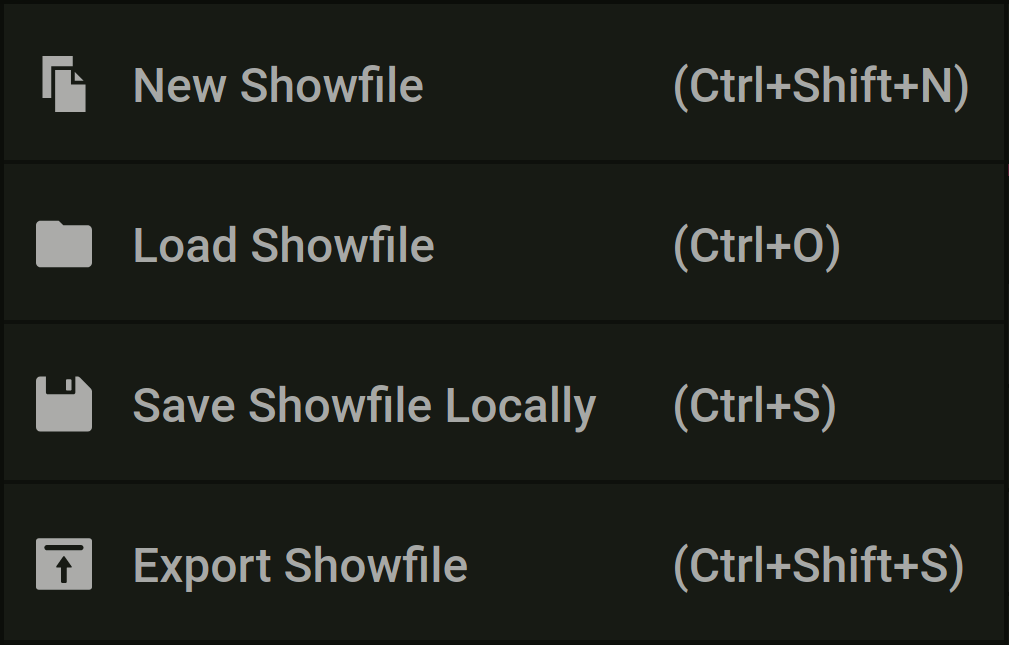
The file menu may be accessed in order to Create Save, Load, and Export show files.

New Showfile #
A new project/showFile can be created by selecting the New Showfile submenu. You will then be prompted with a save popup to export the current showfile changes and a second popup in which the project's/showfile name should be entered.

WARNING
Only one show file may be locally saved at any given time. Please remember to export the data you're currently working on when choosing to switch or create new showfiles.
Load Showfile #
A previously exported showfile may be restored by using the Load Showfile submenu. Current version of ASLS Studio allows for JSON formated ASLS standard showfiles and QLC+ showfiles.

WARNING
While supported, QLC+ showfiles do not contain any information relative to fixture position in 3D space and fixture groups (as designed by ASLS Studio). Moreover, fixture library might differ from one software to another thus resulting in conflicts during import process.
Save Showfile Locally #
Show data may be saved locally by clicking the save button or simply by hitting the associated shortcut Ctrl+S. Data will be saved in the the browser's local storage and presisted locally until the navigator's cache is manually cleared.

WARNING
Please note that locally saved data will be cleared whenever the navigator's cache is deleted. Moreover, only one show may be locally saved at any given time. Thus meaning that saving over a new or imported show will result in an override of the previously saved data. In order to keep a project copy, you will need to Export Showfile the current project.
Export Showfile #
In order to keep a persistent copy of your project, you may choose to generate and export a show file which can later be restituted by using the load menu. To do so, either click on the Export Showfile submenu or hit the associated shortcut hitting the associated shortcut Ctrl+Shift+S.

Edit Menu #
The edit menu may be accessed in order to Undo and Redo actions.

INFO
The app's undo feature listens for user click events in order to record new stashable actions. Actions triggered through keypresses such as input definitions will not be recorded until a new click action is recorded (e.g. click outside of the input box).
Undoing Actions #
Most actions may be undone by selecting the edit > undo submenu or simply by hitting the Ctrl+Z shortcut keys.

Redoing Actions #
Once an action has been undone, it is pooled into a redo stack. Therefore, undone actions may be restored by selecting the edit > redo submenu or simply by hitting the Ctrl+Y shortcut keys.

Preferences Menu #
Show preferences may be adjusted from the preferences menu.

Visualizer #
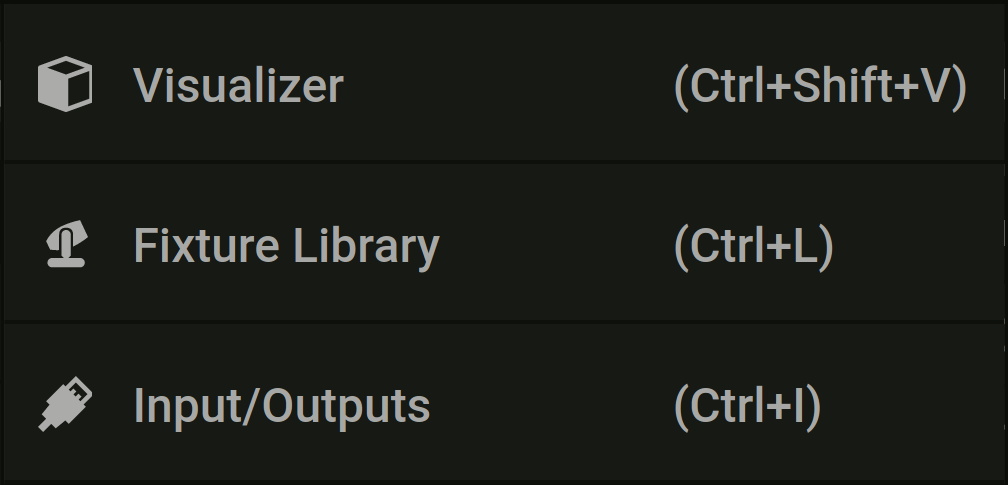
You may want to edit some of the visualizer's properties, either for aesthetic reasons or due to performance issue. You can do so through the preferences > visualizer submenu or simply by hitting the Ctrl+Shift+V shortcut keys. Please refer to the Visualizer Settings section for further information regarding the list of the visualizer's editable preferences

Fixture Library #
WIP
Fixture list is not editable in this version of thge software

Inputs/Outputs #
WIP
I/O are not editable in this version of thge software

 ASLS Studio